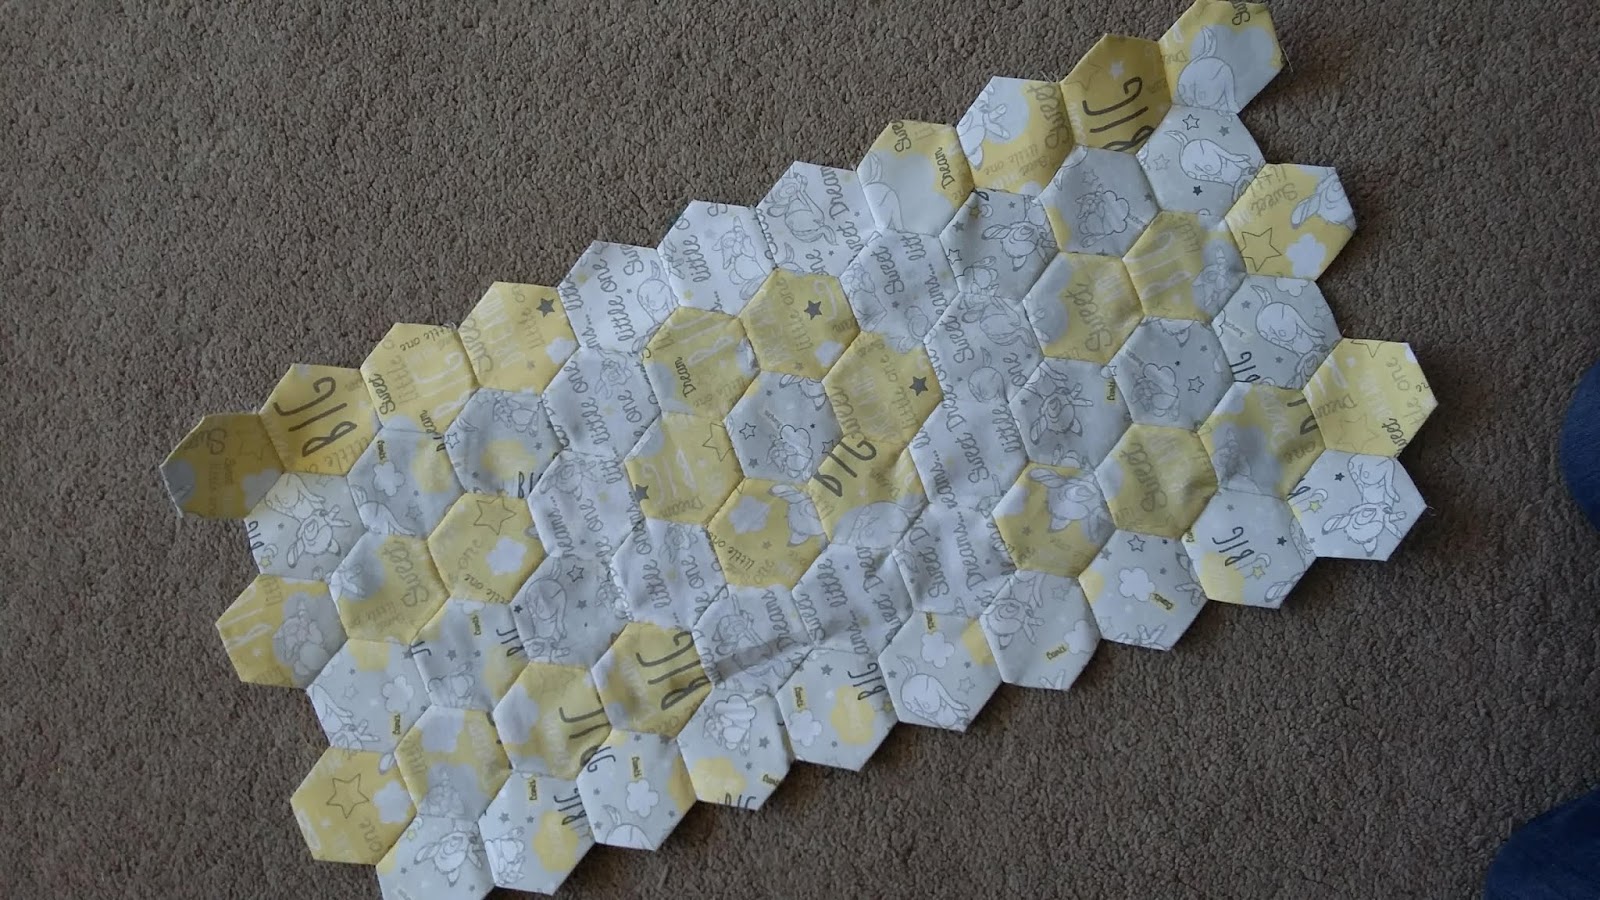
It's been a labour of love, with all the 2 and 1/2 inch hexagons being hand cut, hand basted around the paper templates and then hand stitched together - the English paper piecing method. Incidentally, I hand cut all the individual paper hexagons out too so it has certainly taken some time. I certainly think it was worth it though.


I had a good old look on Pinterest and Instagram for inspiration before deciding on the type of project I was going to make although I was fairly certain I was going to go with a quilt of some description. I'd only tried one other English paper piecing (EPP) project before which was pretty small, so I decided that I'd give a bigger project a go as I had the time before the baby was due. So off I went, printing off and cutting out paper templates and cutting out the fabric hexagons - it was only afterwards that I discovered 'fussy cutting' and there's a part of me that wishes I had known about it before, but I still love how the quilt has turned out. Perhaps I'll do that somewhere down the line.

 |
Copious amounts of tea were drunk at this point 😂 |
Followers of my Instagram and Facebook page will have seen a number of progress photos where I was hand stitching each of the hexagons together, but these stopped as I got nearer to completing as (barring the hubby and the kids who share the dining room where I was making the quilt) I wanted my cousin to be the first to see her finished quilt.

 |
| The hubby was fitting some worktop in the kitchen whilst I was stitching - I don't typically use a saw when I'm sewing 😂 |

Once the hexagons were all stitched together, I popped to one of my local fabric shops with the completed quilt top,and selected a gorgeous pale grey cotton fabric for the backing and border of the quilt top - I didn't want to lose any of the pattern from the hexagons. I machine stitched the quilt top to the borders and removed all the thread I had used for basting (what a time consuming job THAT was!).
 |
| Reverse of the completed quilt top with borders prior to adding wadding and backing fabric |
 Once the quilt top was completed, I cut out and added some wadding and the backing fabric before sewing together using the same technique you would use for completing a mug rug - cheating perhaps and not traditional quilting style, but I am yet to perfect the art of adding bias binding and I wanted the quilt to look beautifully finished as I had spent so long completing it.
Once that was done, I machine quilted and voila, one completed new baby quilt...


With my cousins permission, here she is opening her gift:

I hope you have enjoyed today's blog post and agree that the quilt has turned out fantastically.
Until next time,
M x
No comments:
Post a Comment
I'd love to hear from you if you've found this blog post helpful or if you would like a feature yourself.